Set up custom domain and login page
Updated Oct. 30, 2025 by SupportThe Custom Domain feature allows you to use your own company domain name on the platform, while the Custom Login Page lets you apply your branding and integrate the login experience directly into your website.
This setup creates a seamless and professional experience for your users by keeping your company identity visible from the very first interaction.
 Step 1: Set Up Your Custom Domain
- In your admin portal, go to Settings → Custom Domain.
- Click Set Up Your Domain.
- Enter your domain details:
- Choose a subdomain (for example,
app.yourcompany.com). - Enter your root domain name (for example,
yourcompany.com). - Do not include
wwworhttp://wwwin the field.
- Choose a subdomain (for example,
- Click Next to generate your TXT and CNAME records.
- Log in to your DNS or hosting provider (for example, GoDaddy, Cloudflare, Hover).
- Add the provided TXT and CNAME records exactly as shown on the setup page.
- If you don’t have DNS access, click the Email Request option to send the DNS records to your IT administrator.
- The email includes a link to the records (the link will expire after a limited time).
- Allow up to 48 hours for your DNS provider to process and propagate the changes.
 Pro Tip:
If your company uses an IT department or external web host, share the DNS records with them to ensure accurate configuration.
Step 2: Verify DNS Records
- After 24–48 hours, return to Settings → Custom Domain.
- Click Verify to check that your DNS records were added correctly.
- If verification is only partially successful:
- Wait a bit longer — some records take more time to propagate.
- Double-check that each TXT and CNAME record matches exactly what’s provided.
- Once all records verify, your custom domain setup is complete.
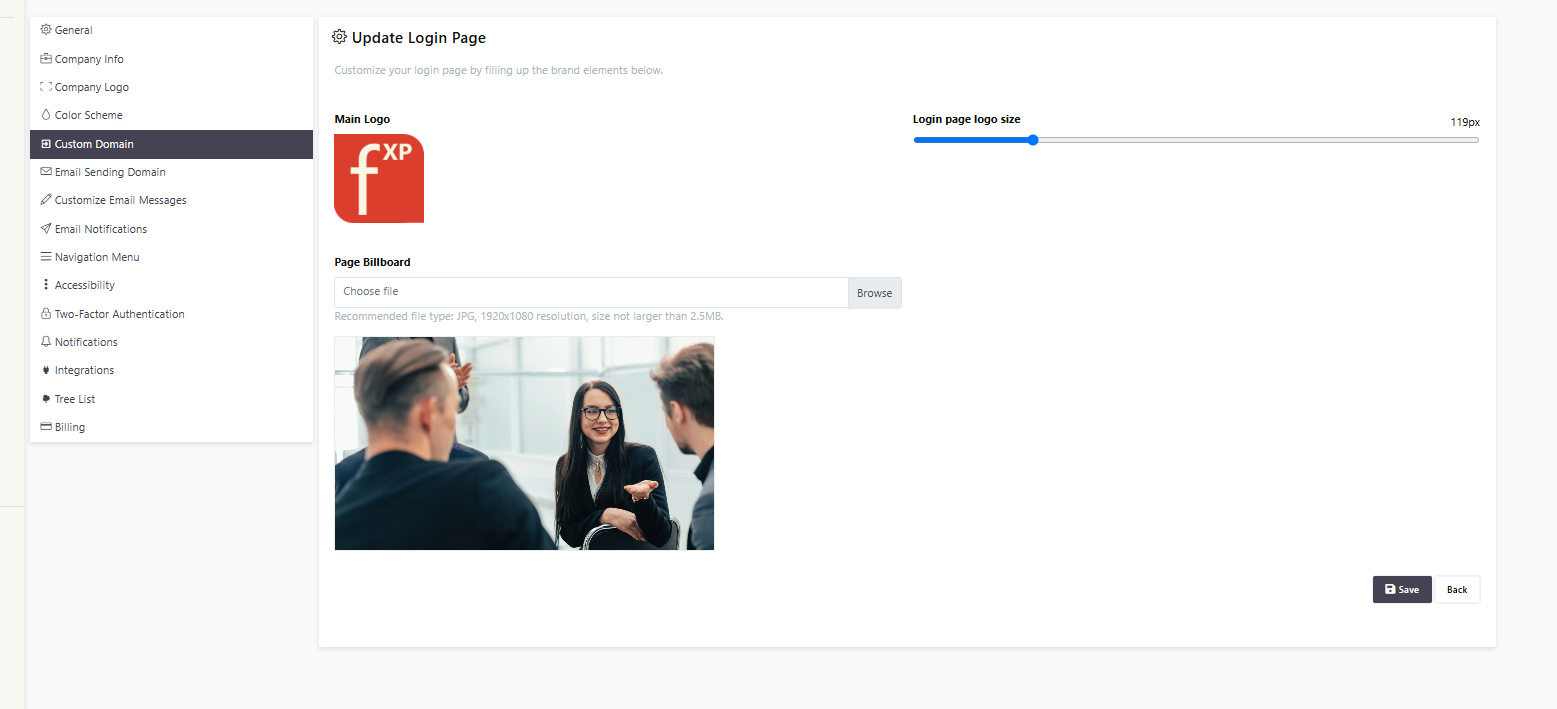
Step 3: Set Up the Custom Login Page
After your domain is verified, you can create a fully branded login page for your users.
- Go to Settings → Customize Login Page.
- Click Set Up Login Page.
- Add Your Company Logo:
- Recommended format: Square logo, 250x250 px.
- Adjust logo size using the slider until it fits neatly on the page.
- Add a Background Image:
- Recommended file type: JPG, resolution 1920x1080, and file size under 2.5 MB.
- Click Save to publish your changes.
- Go back to Settings → Custom Domain, and copy your new Login Page Link.
- Paste the link into your website’s main navigation or header menu to allow users to log in directly from your website.
Pro Tip:
Use high-resolution, lightweight images to keep your login page visually appealing and fast-loading across all devices.
 What Happens Next
Once your custom domain and login page are configured:
- Your users will access the platform using your company-branded domain.
- The login page will display your logo, colors, and background image.
- You can share or embed the login link on your website for easy access.