Manage your contacts

Updated Dec. 10, 2025 by Support

Access, organize, and manage all your contacts in one place. Your contact list may include suppliers, potential clients, or any other individuals you interact with.
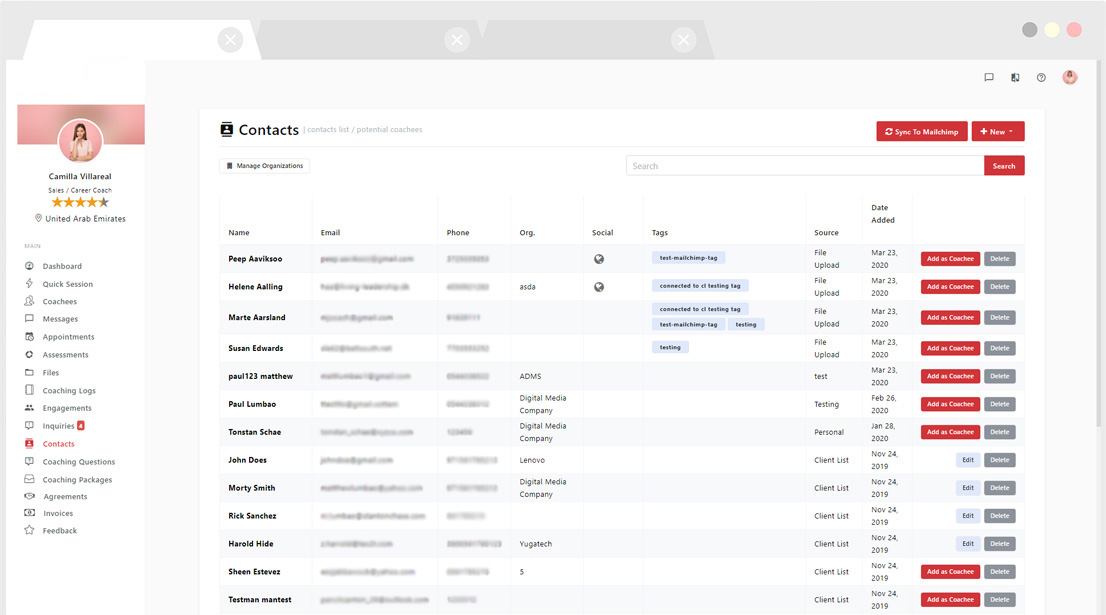
General Functionalities


 Add a New Contact

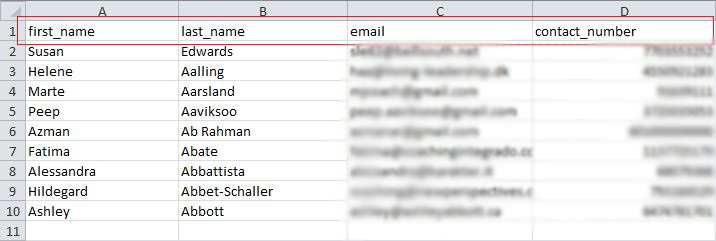
You can add contacts individually or upload multiple contacts at once.


 Add a Single Contact

  1. Click “New” at the top-right corner of the Contacts page.
  2. Select “Add a Single Contact.”
  3. Fill in all required fields.
  4. Click “Save” to add the contact.
    • To continue adding more contacts, click “Save & Add a New Contact.”


 Add Multiple Contacts

If you want to upload a list of contacts, you can import them from a CSV file.

  1. Prepare your contact list in an Excel sheet.
  2. Save it as a CSV (Comma delimited) file:
    • Go to File > Save As
    • Choose CSV (Comma delimited) as the file type
    • Click Save
    • If prompted that some features may not be compatible, click Yes to continue.

CSV Header Format

To ensure a smooth import, make sure your CSV file includes the following headers:

  1. Required Headers:
    • email — must be unique for each contact
    • first_name
    • last_name
  2. Optional Headers:
    • contact_number
    • birth_date
    • company_name
    • occupation
    • linkedin_url
    • facebook_url
    • website_url

Upload Your Contact List

Once your CSV file is ready:

  1. Go to the Upload Contact List page.
  2. Click “Upload File” and select your CSV file.
  3. Click “Proceed” to complete the import process.

 Pro Tip:

Before uploading, double-check that each contact has a valid email address. Contacts without an email will not be imported.


  Data Sample CSV Format


Coaching Loft Logo

Loading resources, please wait...

Loader