Manage coaches
Updated Dec. 08, 2025 by SupportThis guide will take you through how to manage coaches in your enterprise account, including how to use coach seats efficiently, add new coaches, assign coachees, and review each coach’s performance statistics. Here, you will learn how to navigate the coach list, send invitations, upload coaches in bulk, and access detailed coach profiles so you can oversee your coaching team, monitor activity, and keep your coaching programs running smoothly at scale.
 Add New Coaches
Adding a coach uses one available coach seat. Make sure you have a free seat before adding a new coach.
 Add one Coach
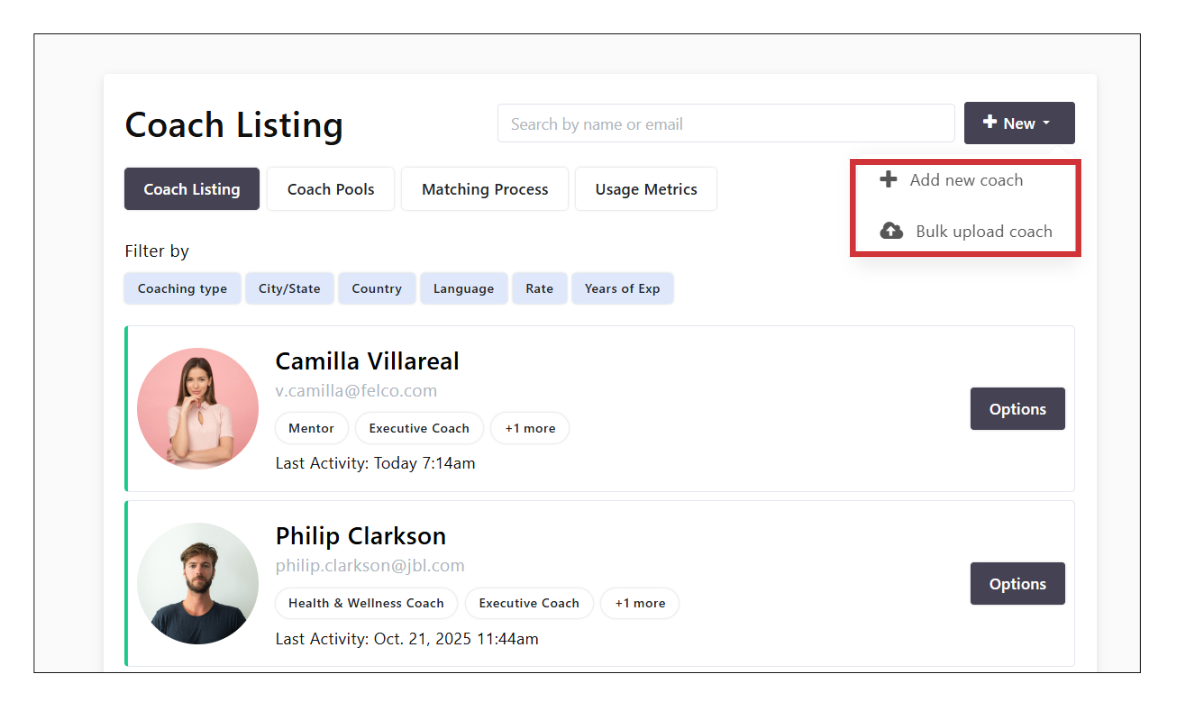
- Go to coaches in the left-hand menu
- Click +New at the top right of your screen
- Select +Add new coach.
- Enter the coach’s first name, last name, and email address
- If you want to send the invitation immediately, click Send Invitation before submitting.
- Click Submit.
- If you prefer to send the invitation later,simply click Submit. The coach will be stored as a contact in your list.
- To invite the coach at a later time, click Options beside their name and select Send Invitation.
- The coach will receive an email with a link to activate and set up their account on the platform.
Add Coaches in Bulk
If you have enough available seats, you can add multiple coaches at once using a CSV file.
To bulk upload coaches:
- Go to coaches in the left-hand menu
-
Click the +New button at the top right of your screen.
-
Select Bulk upload coach.
-
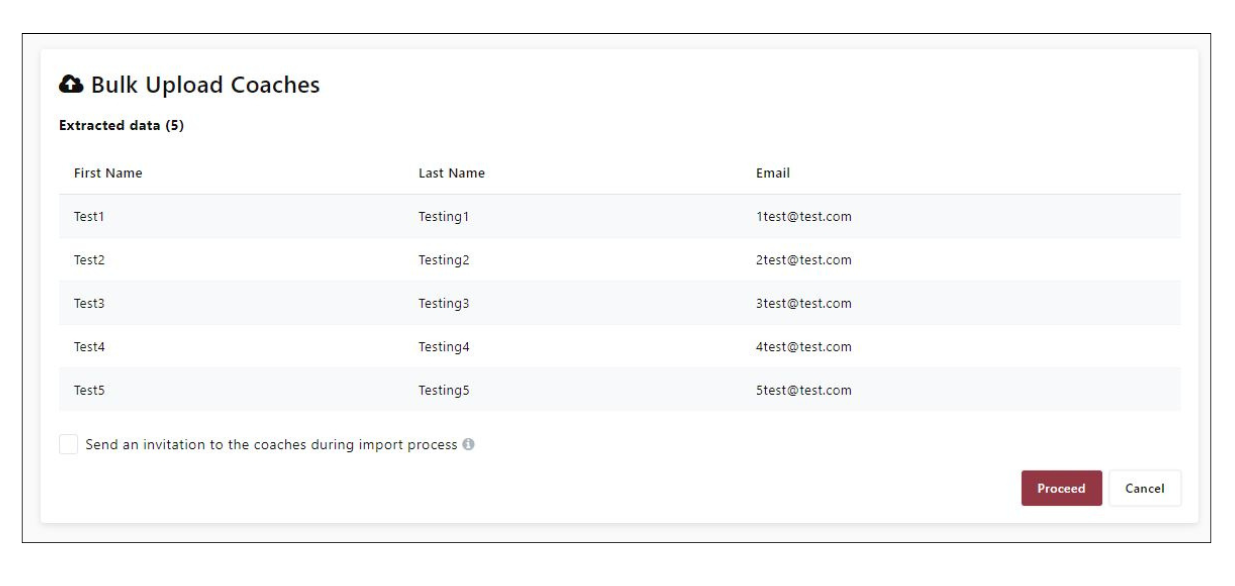
Upload the completed CSV file. You will see a preview of the data extracted from the file.
-
Tick Send an invitation to the coaches during import process if you want invitations to be sent automatically.
-
Click Proceed to complete the upload.
Send an invitation to the coaches during import process, all coaches included in the uploaded list will automatically receive an invitation email.
 Tip:
Tip:
Before uploading, review the CSV format guide to make sure all columns, headers, and data are correctly filled in so you avoid import errors and missing coach details.
 Important note:
- Adding a new coach will use one available coach seat in your enterprise account.
- Please make sure you have a vacant seat before adding a coach.
- You can manage seat allocation in Settings → Billing → Manage seats. If you need more seats, purchase additional coach seats before adding new coaches.
Manage Coach Settings
Administrators can view and update each coach’s profile and availability settings from the admin enterprise account. Manage Coach Profile
- Go to Coaches in the left-hand menu.
- Click Options next to the coach’s name you want to edit.
- Select Profile.
- Click About to view the coach’s profile information.
- You can add or amend any fields the coach filled in when setting up their account.
Manage Coach Availability Settings
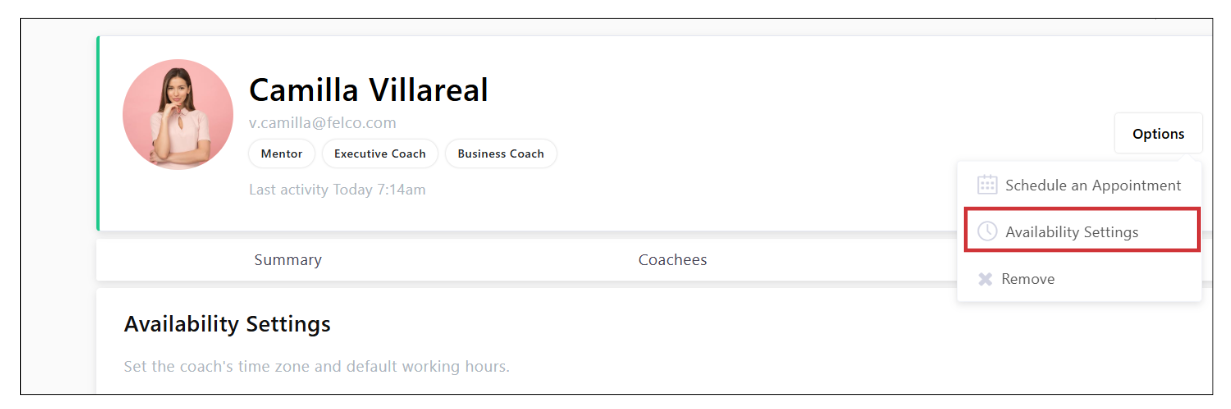
- From the coach’s profile, click Options on the top-right corner.
- Select Availability Settings.
- If the coach has already set their availability, you can view or modify it.
- If not, you can set it for them.
- You can adjust:
- Time Zone
- Availability Window
- Cancellation Notice
- Buffer Time
- Meeting Modality (e.g., in-person, online)
Manage Assigned Coachees
- In the coache’s profile, click Coachees to view their assigned coachee(s).
- You can assign a new coachee or remove assigned coachees from this section.
Remove Coaches
- Go to Coaches in the left-hand menu.
- Click Options next to the coach you want to remove.
- Select Remove.
- Click Remove & Disconnect from All Coachees.
 Notes:
All files and records of the coach’s previous coachees will be backed up and can be transferred to a new coach taking over.